
No Bake Hot Chocolate Pie
This easy no bake hot chocolate pie will make your whole family happy. The rich and creamy pie filling is made with 5 simple ingredients, and takes about 10 minutes to prep! It’s such a dreamy dessert for chocolate lovers and a perfect make-ahead sweet treat.
Note: This recipe has been revised and retested to perfection as of August, 2025!
Five Star Review
I made this pie yesterday and OMG was it delicious! So chocolatey, and I loved that it was no bake!
– TAYLER

What makes this hot cocoa pie so special?
It’s rich, creamy, and takes just 10 minutes to throw together!! It can hang out in the freezer until you’re ready to serve so it’s the perfect make-ahead dessert. I’ve tested it over and over (my family never complains!) to get that perfect “hot chocolate” flavor and silky texture!
RECIPE INGREDIENTS
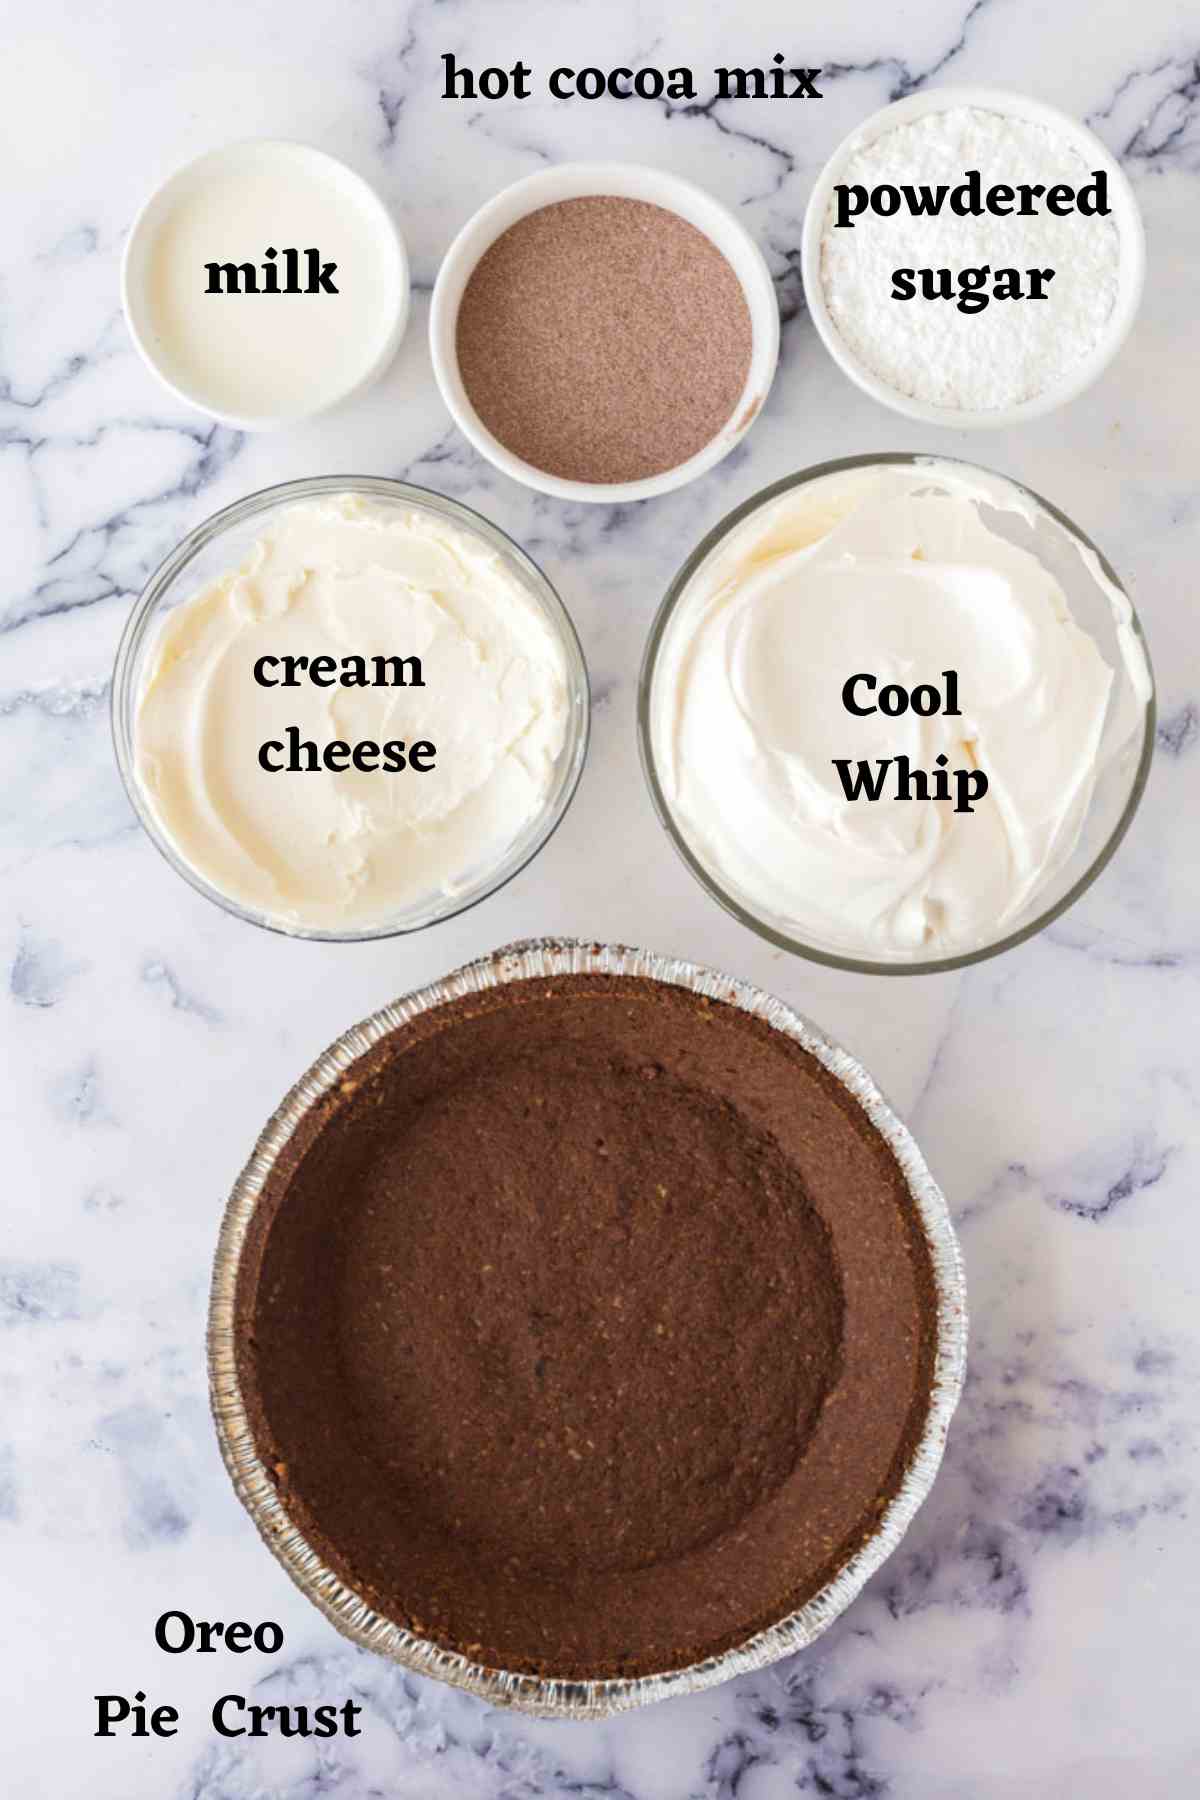
You’ll need the following ingredients to make this creamy, easy hot chocolate pie:
INGREDIENT NOTES & SUBSTITUTIONS
Hot cocoa mix: I like the Swiss Miss brand, but go with your favorite. It adds a nice chocolatey flavor and thickness to the creamy pie filling.
Pie Crust: I recommend using a store bought pre-baked Oreo pie crust for double chocolate flavor. However, I’ve made this pie several times with a regular graham cracker crust and it’s delicious as well.
Whipped topping: A container of pre-made whipped topping (i.e. Cool Whip) works best. It adds a creamy texture to the pie when combined with cream cheese.
Toppings: Swap out the mini marshmallows with marshmallow fluff and use a kitchen torch lightly toast marshmallow fluff on top. OR try different toppings like crushed peppermint candies, chopped and toasted peanuts, or M&M’s!
HOW TO MAKE HOT CHOCOLATE PIE: STEP-BY-STEP
Here are some quick visual instructions. Remember that full instructions with exact ingredients will be in the printable recipe card below!


CASEY’S NOTES
- Bring cream cheese to room temperature first. Use softened, room-temperature cream cheese to help you whip up a smoother and creamier pie filling.
- Storage: I prefer this pie frozen, so cover it store in the freezer (I like using the plastic cover that comes with the pre-made pie crust). The pie is best if consumed (devoured?) after one week.

Casey’s Top Tip: For clean, easy cuts (and the best texture in my opinion!) freeze the hot cocoa pie for at least 6 hours or overnight. Slice with a warm knife. Dip your knife hot water first, then wipe it dry and cut away! You’ll get clean slices every time.
Your Questions Answered
RELATED…
If you love super EASYYYY, delicious desserts like I do, don’t miss this no bake cherry cream cheese pie, this pumpkin pie with condensed milk, and these festive peppermint rice krispie treats!


Did you try this recipe?
Let us know your thoughts on this no-bake hot chocolate pie by leaving a star rating below or sharing it on Instagram!
Thank you! ~ Casey

No Bake Hot Chocolate Pie
Ingredients
- 1 8 oz. block cream cheese, softened
- 1/4 cup powdered sugar
- 3/4 cup hot chocolate mix about 3 1.38 oz. packages
- 3 tbsp. milk whole milk works best
- 1 8 oz. container of Cool Whip or any brand whipped topping
- 1 pre baked chocolate Oreo pie crust or graham cracker crust store-bought or make your own
- chocolate syrup and mini marshmallows for garnishing optional
Instructions
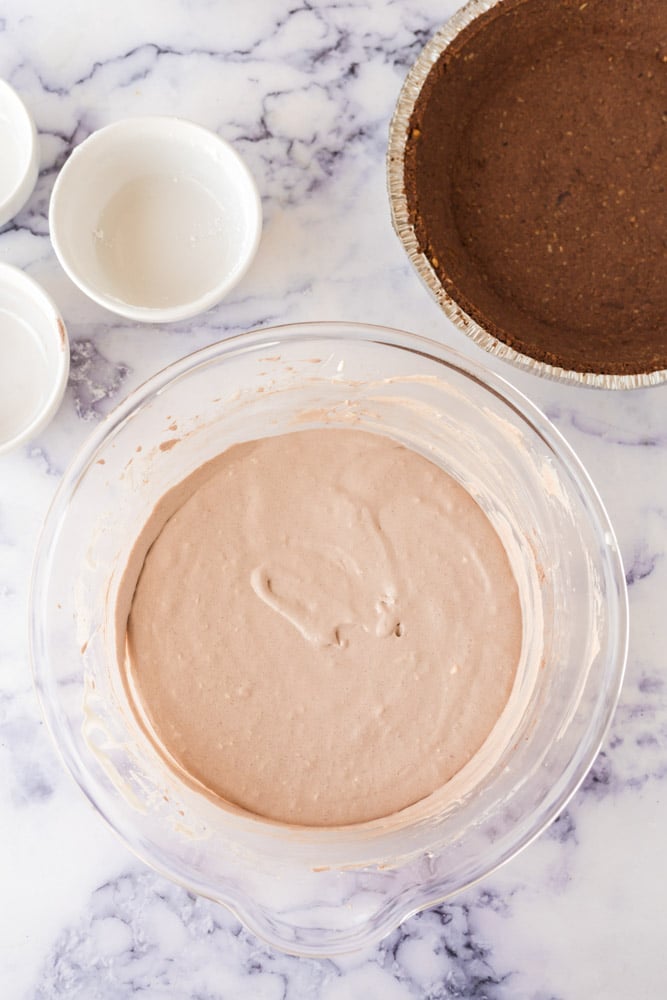
- Mix: In a large bowl, combine softened cream cheese, powdered sugar, hot chocolate mix and milk. Use an electric hand mixer on medium speed to blend the ingredients together until smooth (about 30 seconds).
- Add: Once the mixture is smooth, fold in the Cool Whip (I just use a rubber spatula for this part). Mix well and ensure that there are no pockets of dry powdered sugar or hot chocolate mix in the pie filling.
- Pour & freeze: Pour the mixture into the pie crust and use a rubber spatula to smooth out the top. Cover the pie and freeze it for at least 6 hours.
- Finish: When you're ready to serve, drizzle chocolate syrup over the top and sprinkle with mini marshmallows. Slice the pie with a warm knife to get nice, clean slices and serve right away!
Notes
Casey’s Tips
-
- Bring cream cheese to room temperature first. Use softened, room-temperature cream cheese to help you whip up a smoother and creamier pie filling.
-
- Storage: I prefer this pie frozen, so cover it store in the freezer (I like using the plastic cover that comes with the pre-made pie crust). The pie is best if consumed (devoured?) after one week.


I have revised and updated this recipe taking into account reader feedback and it’s absolutely perfect! I know you’ll love it! XO ~ Casey
is the filling supposed to be runnie
Not super runny but pourable 🙂
I thank to much milk mine was runny
The recipe has been retested and updated! It’s perfect! XO ~ Casey
I love how simple this pie was to throw together. I hate to bake, but I love dessert so I am always looking for easy decadent desserts. This one definitely fir the bill. We will be making it again soon.
OOH this is the perfect birthday “cake” for my daughter. She doesn’t like cake, but I know she will absolutely love this!
Love this No Bake Hot Chocolate Pie recipe, so easy and delicious. Will make it soon. Thanks for sharing 🙂
This looks and sounds fantastic! I can’t wait to make it. I know the kiddos will go bananas for this!
I made this pie yesterday and OMG was it delicious! So chocolatey, and I loved that it was no bake!
This looks and sounds fabulous! Love this recipe.