Easy Pumpkin Pie Without Evaporated Milk
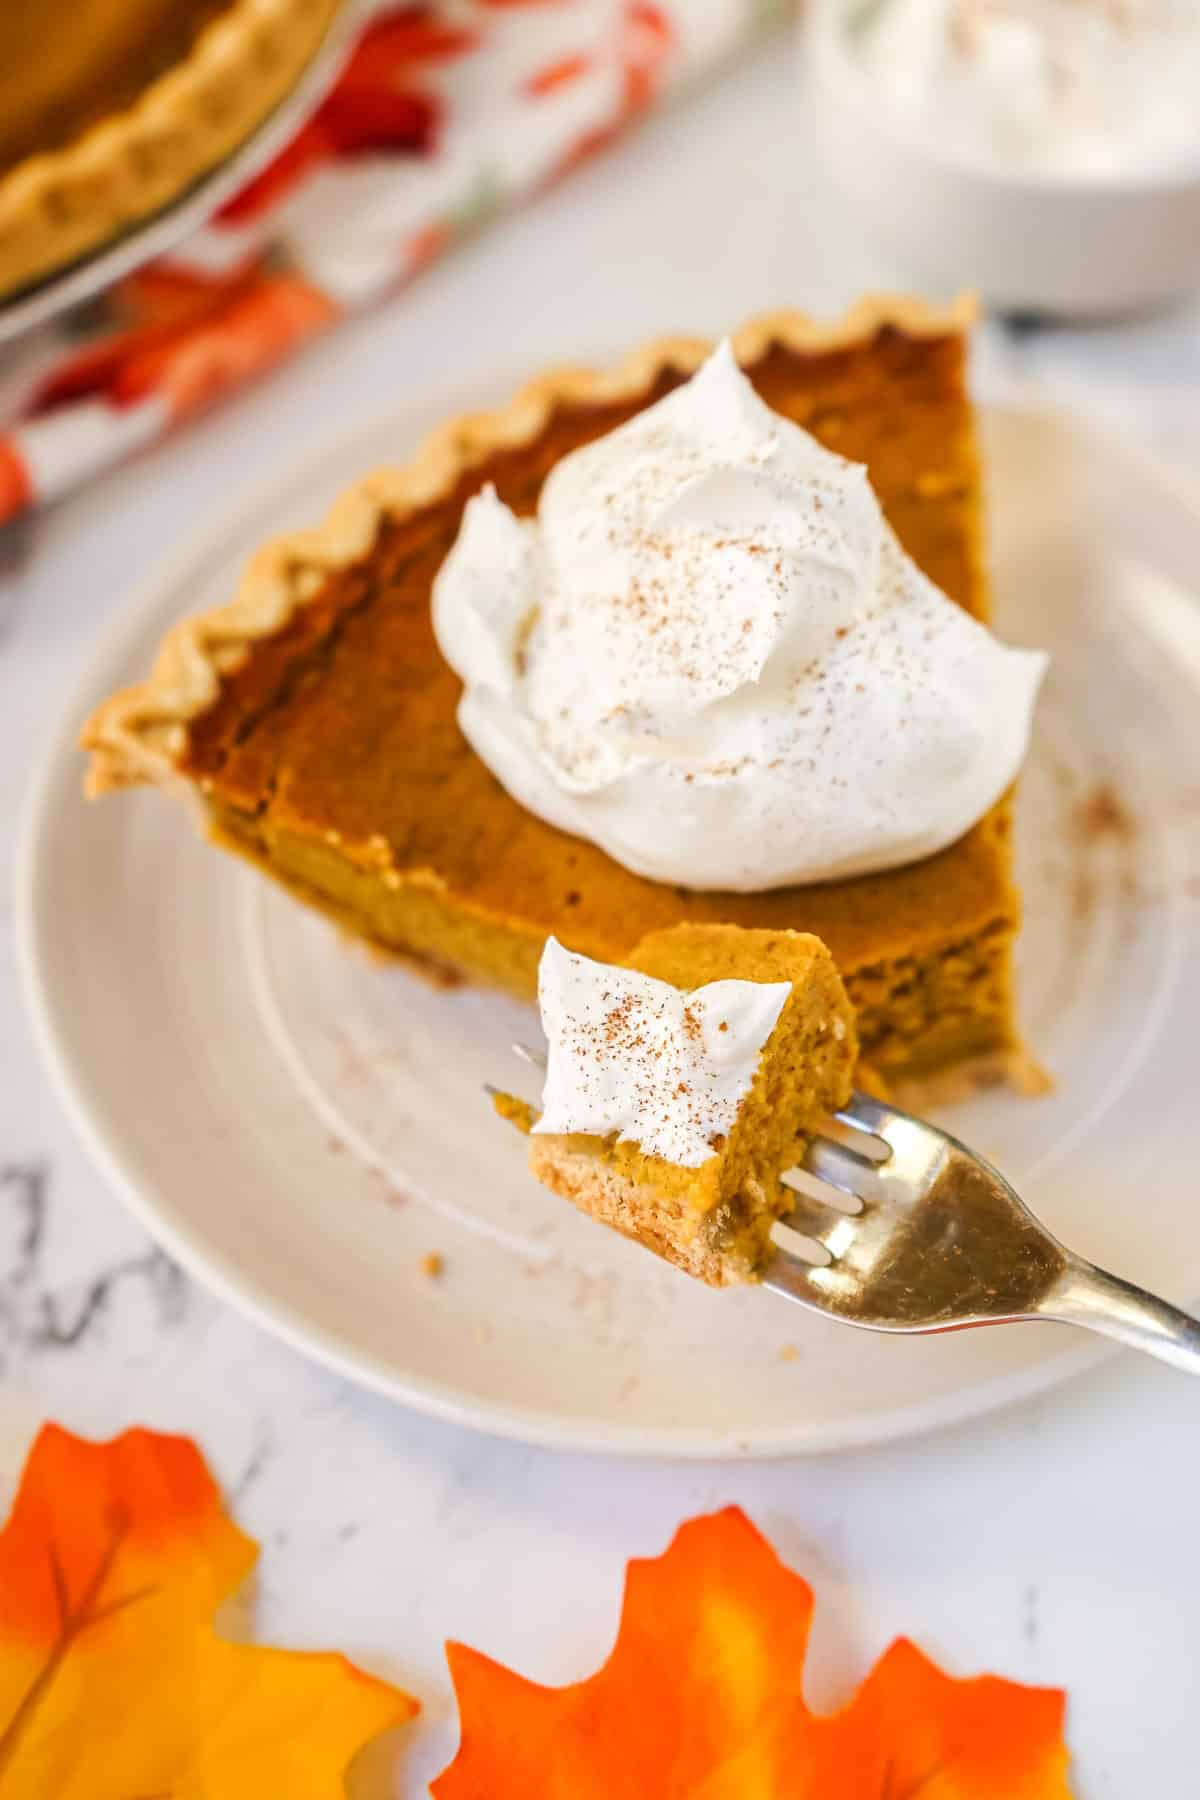
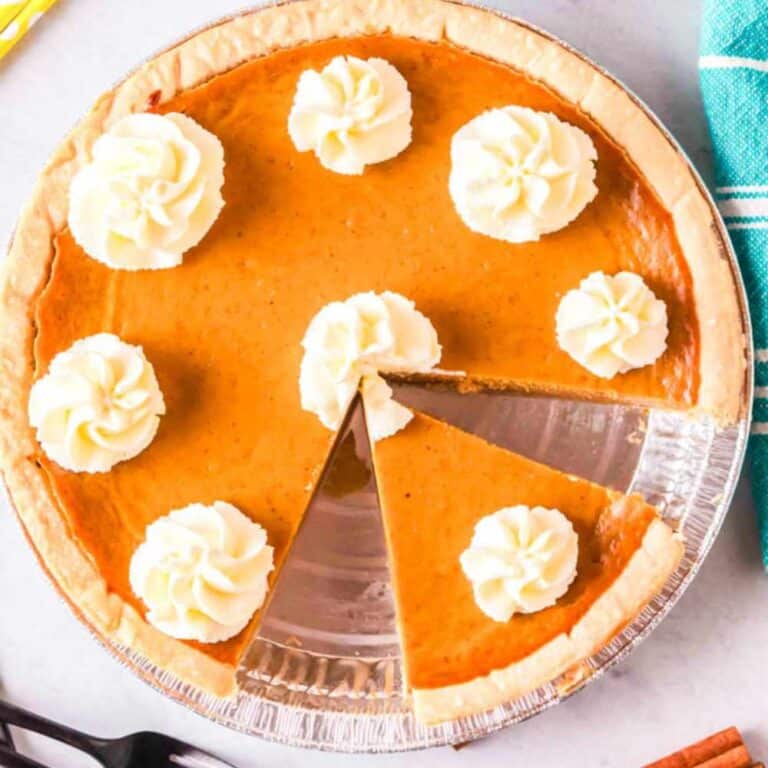
You are going to go crazy over this Pumpkin Pie Without Evaporated Milk! Forget making your traditional pumpkin pie with evaporated milk….once you have had this version, you’ll never go back! Nervous about making pumpkin pie?! Relax–I also have all the tips and tricks so you can make the perfect pumpkin pie!
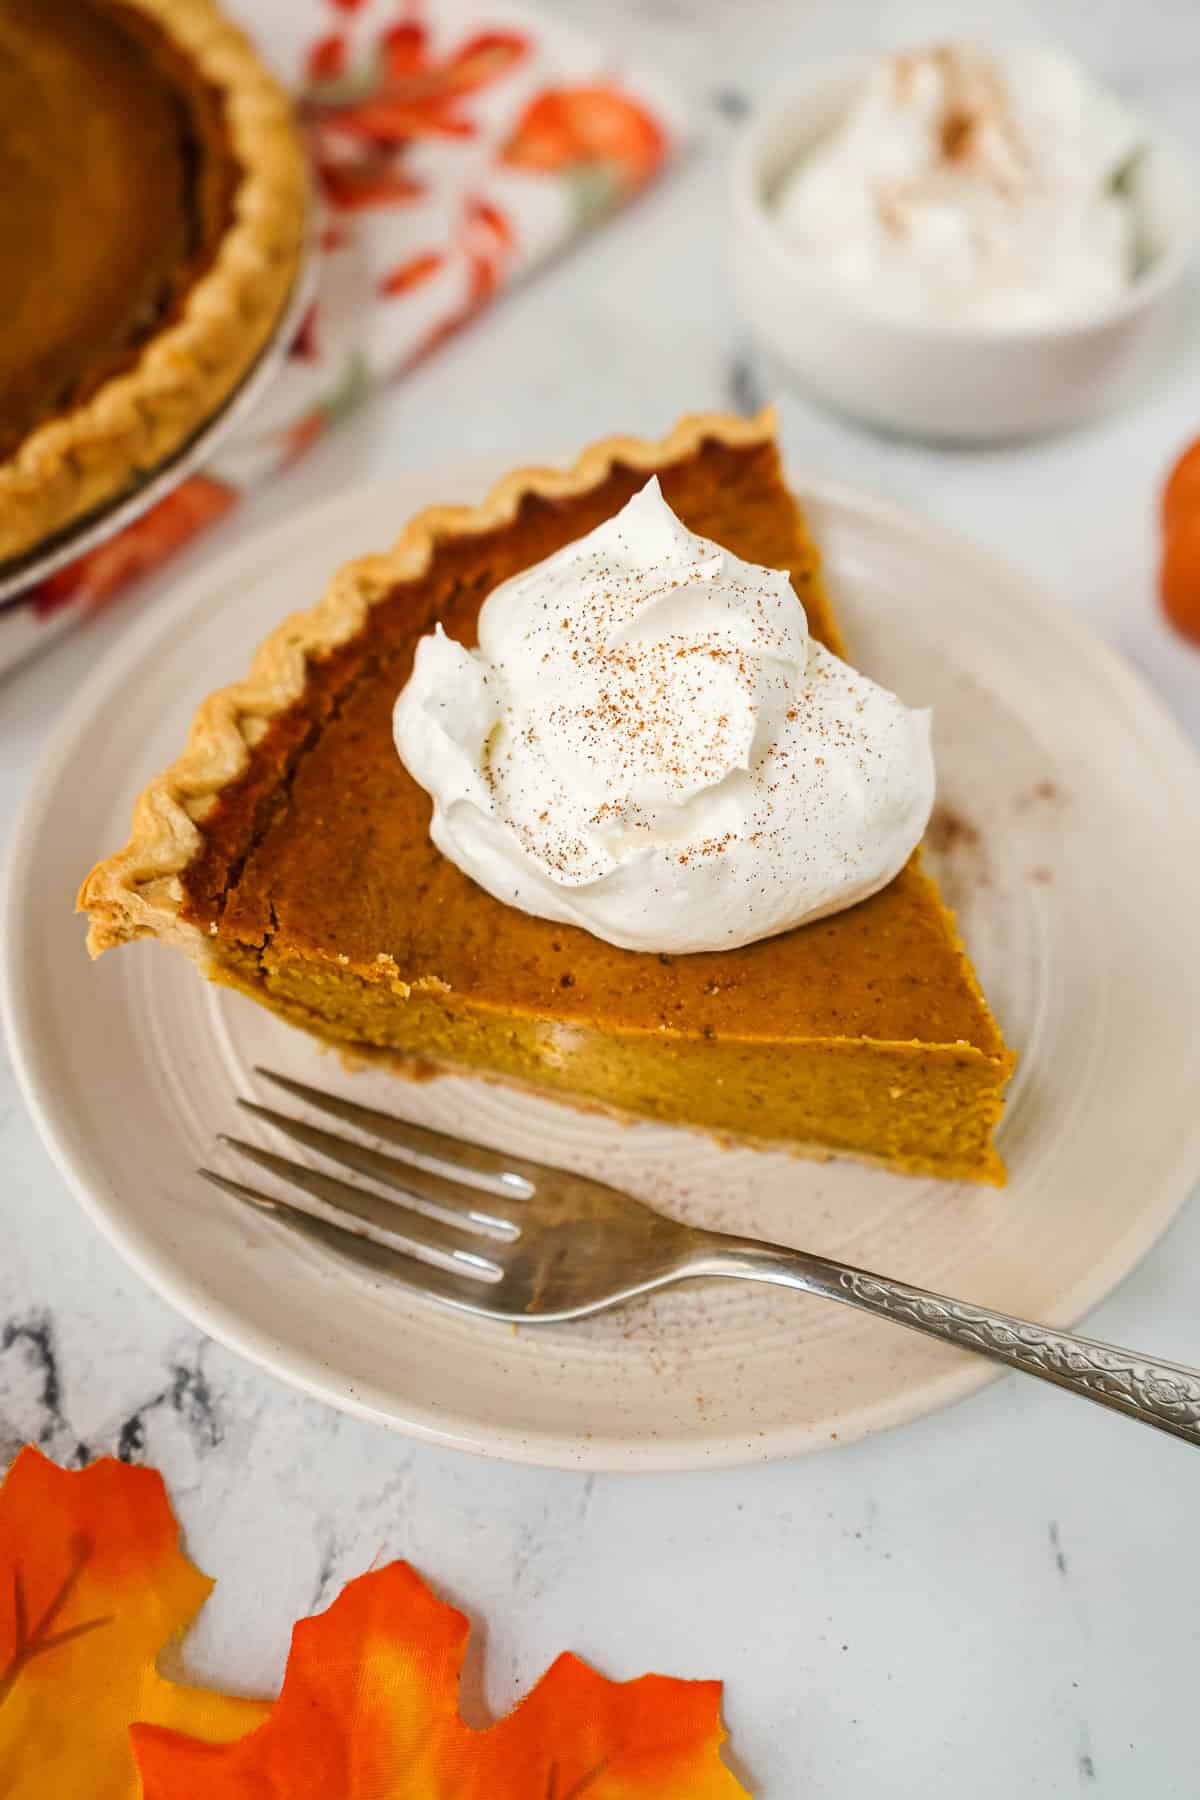
There are a lot of classic holiday pies, but there is NONE more classic than homemade pumpkin pie!
Now, if this is the first time you have made a pumpkin pie, I know it might seem a little scary (it was for me, at least)! But RELAX. I have you covered! This easy pumpkin pie recipe will become a family favorite!
I used to use the traditional evaporated milk in my pumpkin pie. However, once I started making it with heavy cream in place of the evaporated milk, there was no going back. This is literally the best pumpkin pie recipe!! Make sure to top it off with lots of homemade cinnamon whipped cream!
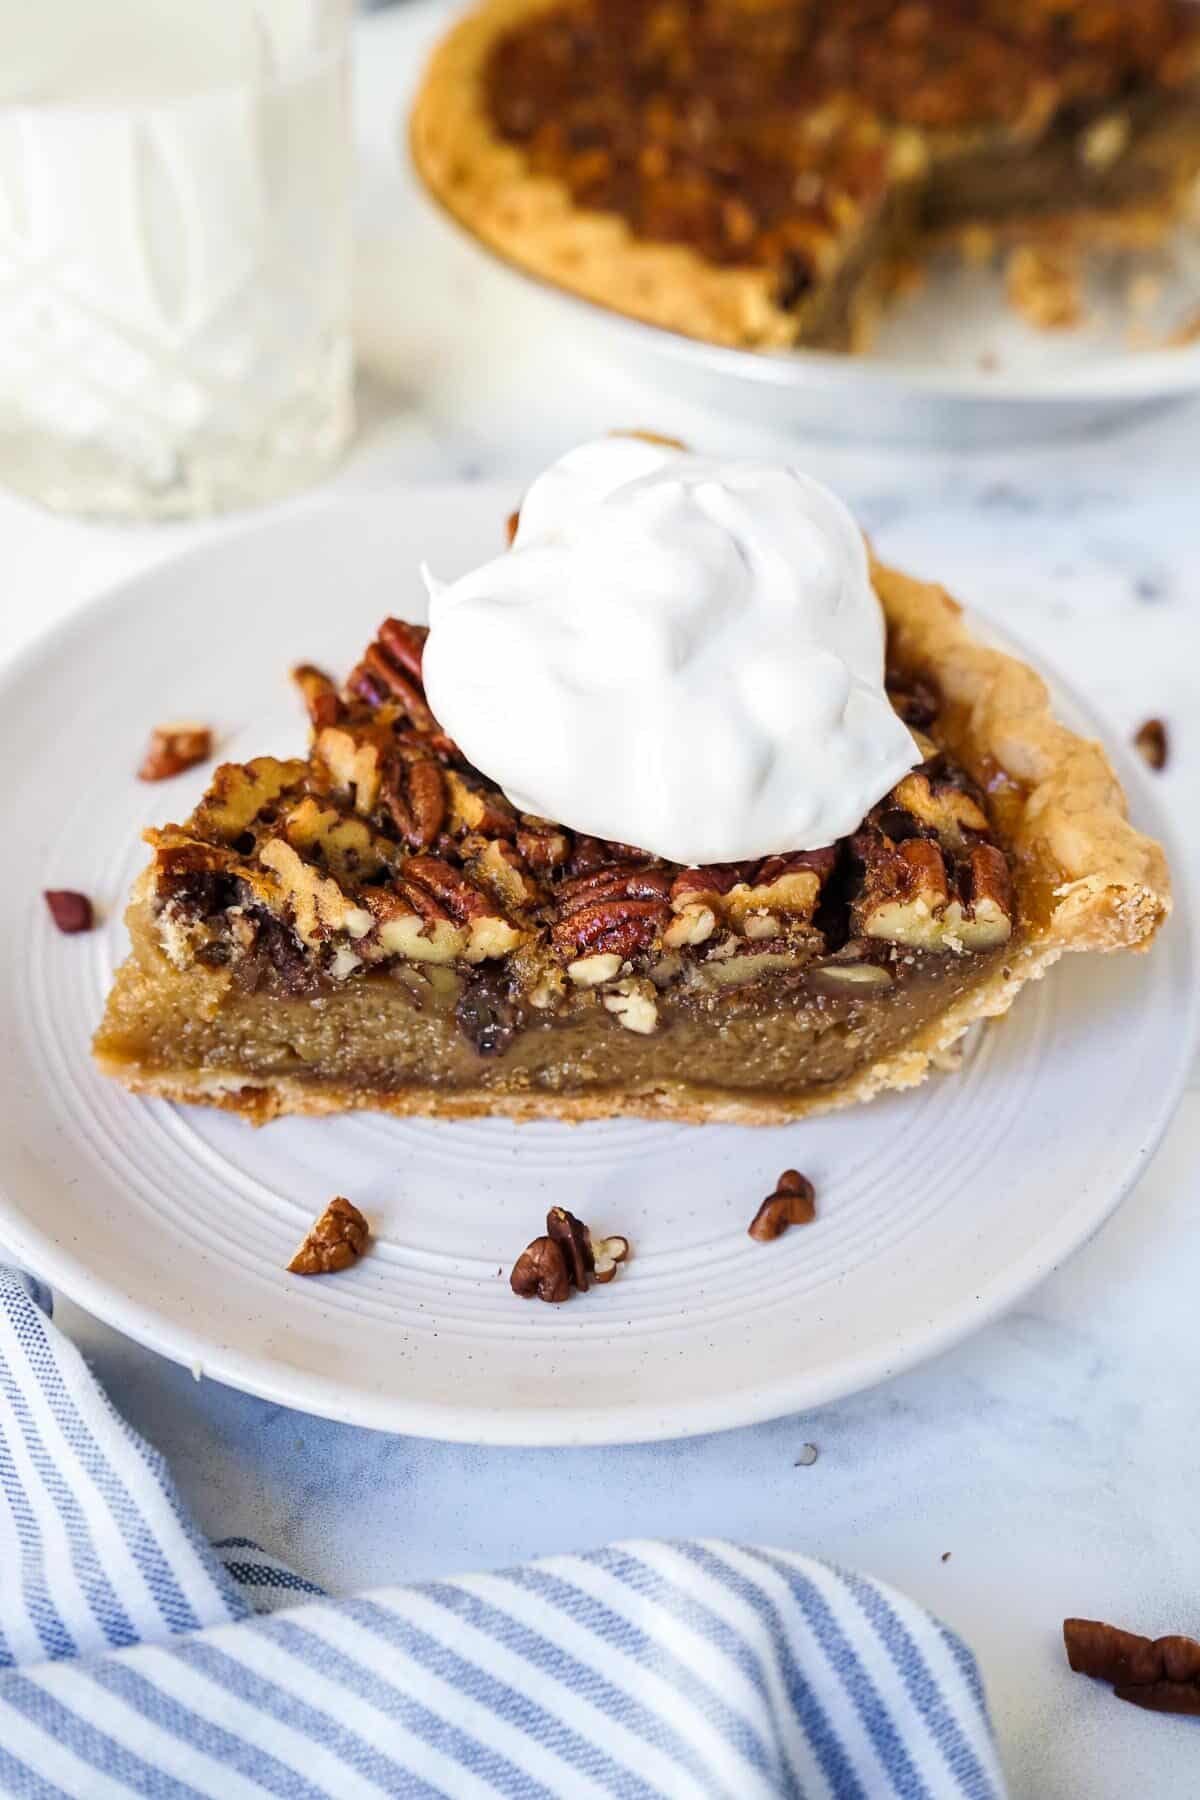
Need another great pie to make?! Try my Easy Pecan Pie, my Grandma’s Sweet Potato Pie, or this amazing Caramel Apple Pie with Crumb Topping!! This pie uses maple syrup in place of corn syrup and it’s just divine!! And if you need an EASY no-bake pumpkin dessert, make my Double Layer Pumpkin Pie or this decadent Pumpkin Pie with Condensed Milk!
WHY YOU’LL LOVE THIS RECIPE
- This pumpkin pie has the absolute perfect texture.…smooth and creamy!
- The perfect mixture of warm spices that scream fall and the holiday season!
- Super easy–no need for pie weights, a stand mixer, or any fancy equipment!
RECIPE INGREDIENTS
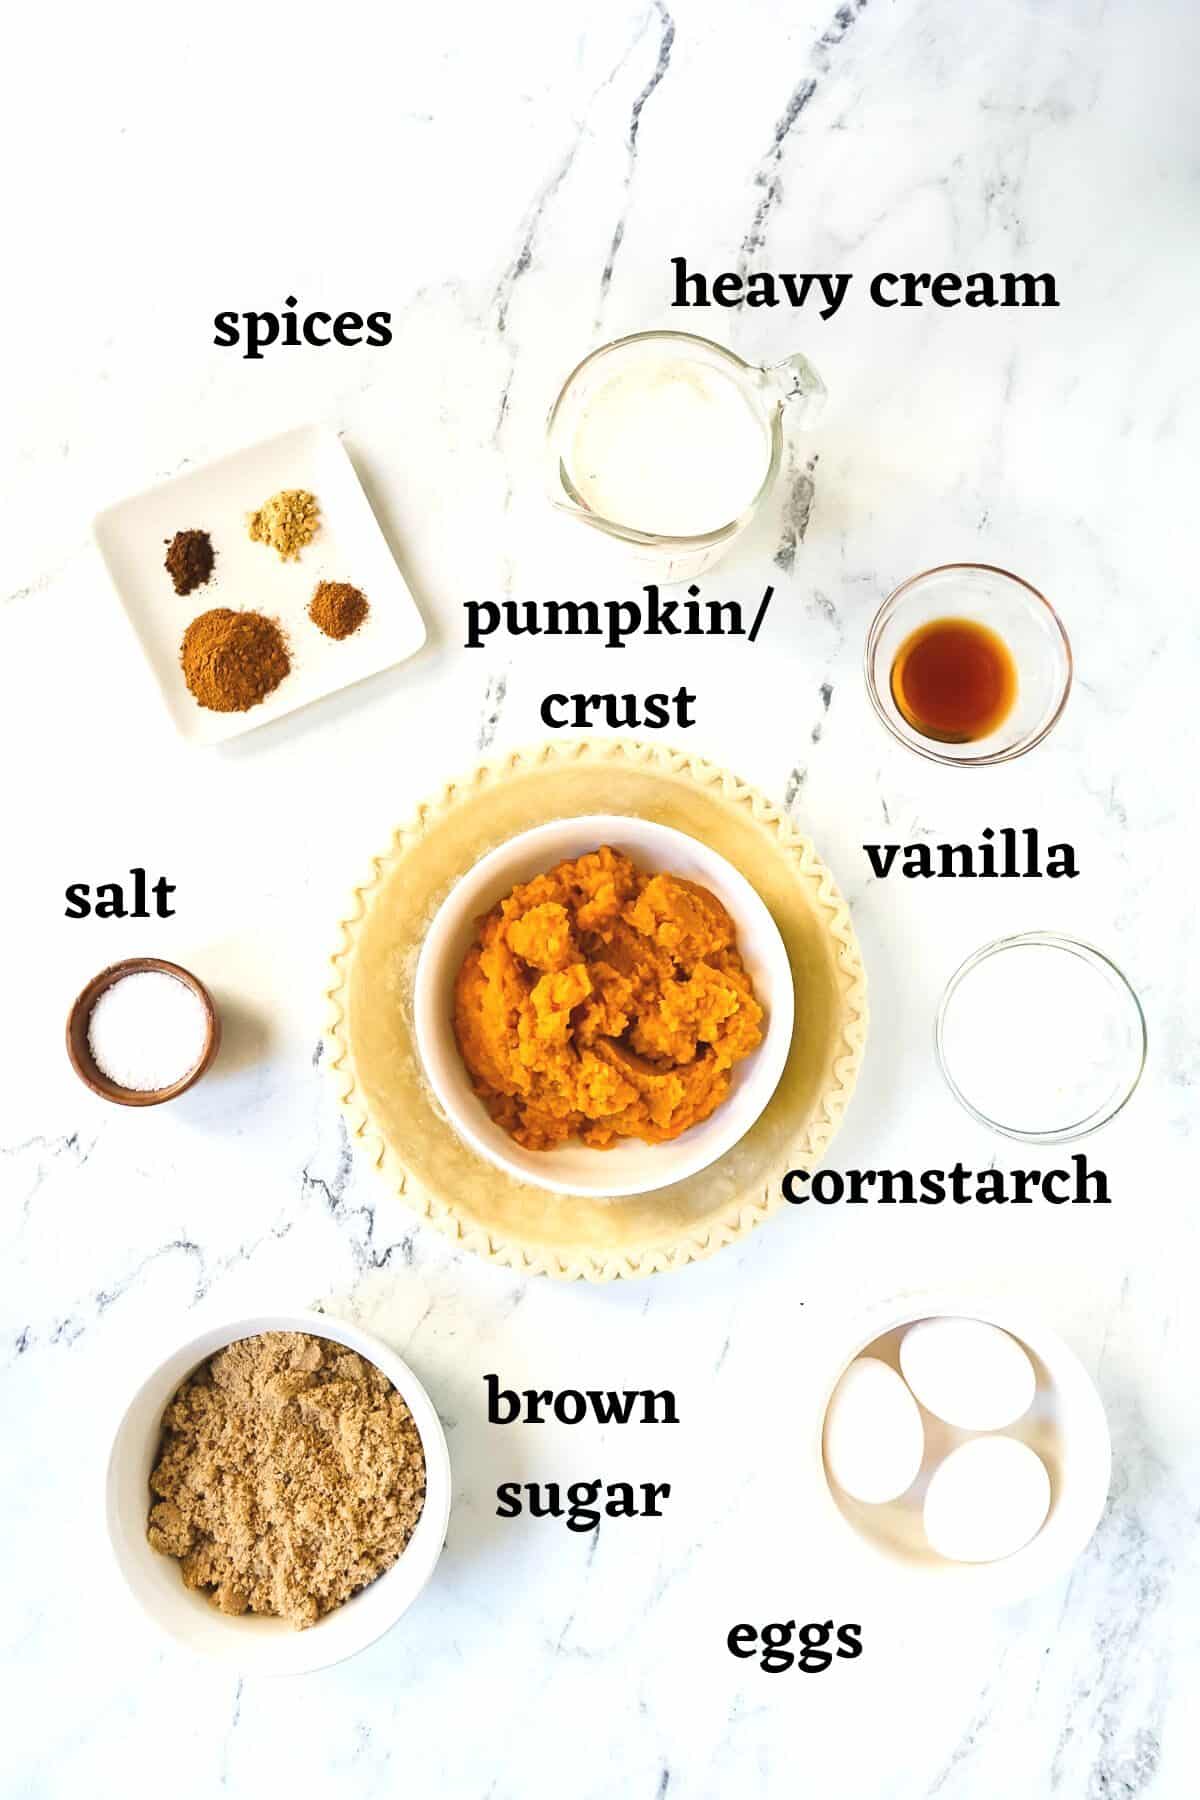
You’ll need the following ingredients to make this Easy Pumpkin Pie Without Evaporated Milk:
INGREDIENT NOTES
Pumpkin Puree: Make sure it’s pure pumpkin and not “pumpkin pie filling” that already has spices mixed in.
Pie Crust: Frozen pie crust works fantastic in this recipe and it’s super easy to blind bake (no pie weights needed!). You can find them at the grocery store in the freezer section near the pies and Cool Whip! This is my favorite brand.
Heavy Cream or Whipping Cream: I prefer heavy cream but either will work in this recipe.
Spices: I use a combo of cinnamon, ground ginger, nutmeg, and cloves. I HIGHLY recommend using these individual spices vs. using a store-bought pumpkin pie spice. The difference is night and day! If you are going to use a pre-made spice, make sure it’s good quality like this one.
Cornstarch: Might sound odd, but makes all the difference! Helps thicken the pie so the texture is perfect! Don’t worry, you will NOT taste it at all!
HOW TO MAKE PUMPKIN PIE WITHOUT EVAPORATED MILK: STEP BY STEP
Here are some quick visual instructions. Remember that full instructions with the exact ingredients will be in the recipe card below!
Step 1: Blind bake your crust: Prick the bottom and sides of the pie crust several times. Then, bake at 350°F for 12-15 minutes ((no need to pie weights or anything fancy!!))
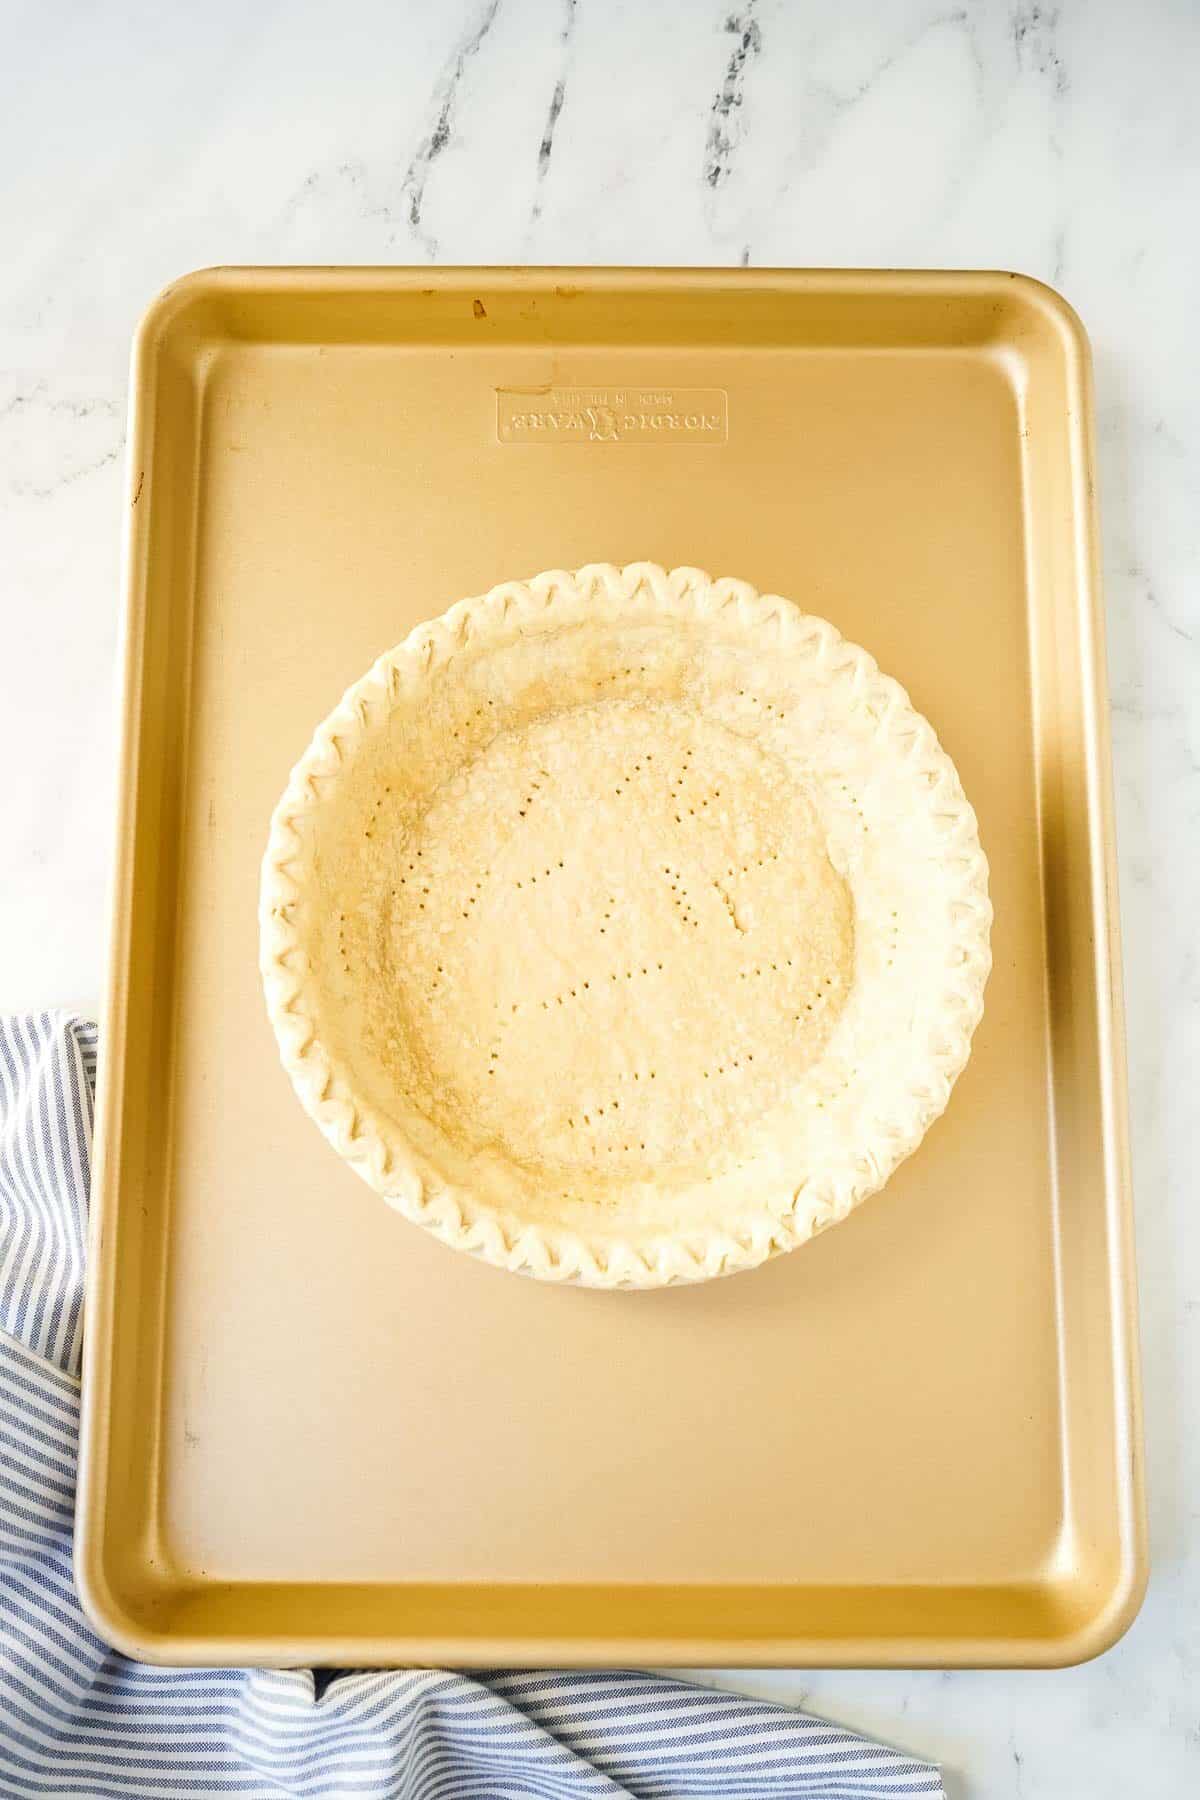
Step 2: While the crust is baking, in a large bowl, blend or whisk together all remaining ingredients.

Step 3: Pour pumpkin filling into crust. Bake at 425°F for 15 minutes. Then, reduce the temperature to 350° and bake another 30-40 minutes. Do NOT take the pie out of the oven immediately! Turn the oven off, then open the oven door slightly. Allow the pie to gradually cool in the oven for another 10-15 minutes.

Step 4: Remove the pie from the oven and cool for another 2-3 hours or overnight! Pumpkin pie is great served at room temperature.

RECIPE TIPS & TRICKS
- If you have one, use an electric hand mixer to mix together all the ingredients for the pumpkin filling. This ensures everything is smooth and well-mixed. If you don’t have one, no worries! A whisk works just fine, also!
- If you find the crust is getting too brown before the pie is done, use a pie shield or cover the edges carefully with aluminum foil.
⭐️ CONFIDENCE TIP ⭐️
Does your pumpkin pie always crack? The reason for this is sudden changes in temperature. So taking the pie out of the hot oven, and directly into the much cooler kitchen can cause cracking. The solution? Simple. When the pie is done, turn off the oven and open the oven door. Let the pie sit in the oven for 10-15 minutes and gradually cool.
STORAGE & REHEATING
- Storage: To store this pumpkin pie, make sure it’s completely cool. Then, wrap it in plastic wrap or foil. Store in the fridge for up to 4 days.
- Freezing: This pie can be frozen, just keep in mind the crust may get slightly soggy during the process. To freeze, cover with several layers of plastic wrap or foil. Place pie in a large plastic Ziploc freezer bag and freeze for up to 3 months.
For complete storage and FDA food safety information, check out this post: How Long Does Pumpkin Pie Last in the Fridge?
FREQUENTLY ASKED QUESTIONS
There are two reasons pumpkin pie will crack. One reason is overbaking. It’s very important to turn off the oven when the pie is set on the sides and still SLIGHTLY jiggly in the center. The pie will continue to cook even after the oven is turned off.
The second reason a pumpkin pie might crack is sudden changes in temperature. For instance, taking the pie directly from the hot oven to the cooler kitchen counter. In order to combat this, when the pie is done, simply turn the oven off, and crack the oven door. Keep the pie in the oven for another 10-15 minutes and allow it to gradually cool.
Also, never put a hot or even warm pie in the fridge. This may also cause cracking.
This recipe uses heavy cream and in my mind, it is the best possible substitute. You can also use regular milk, condensed milk, or non-dairy milk such as coconut milk.
For a complete list of Substitutions for Evaporated Milk in Pumpkin Pie see this post. It will tell you exactly how to use each substitute!
Pumpkin pie can become watery when it’s overcooked. The most common reason, though, is when a warm or hot pie is placed in the fridge–it’s just condensation. It’s no big deal, but try to let your pie cool completely before putting it into the fridge.
If your pie does get watery in the fridge, simply take a paper towel and gently blot away the excess moisture. No harm done!
You don’t HAVE to. No lives will be lost and your pie will be OK. HOWEVER-I feel like this is an important step that just takes a few minutes and it’s super easy! You can do it while you are making the filling!
Blind baking the crust prevents it from getting soggy as it bakes. It’s super easy when you use a frozen pie crust! No need for any pie weights, beans, or fancy equipment! 🙂
In a Dinner Rut?
Grab your 7-Day Meal Plan + 3 Bonus Recipes!
TOOLS FOR THIS RECIPE
Check out all of my kitchen essentials in my Amazon store!
Pie Crust Shield: This keeps your crust from getting too brown. You can also use aluminum foil.
My Favorite Frozen Pie Crust: I love that it’s deep dish and scalloped around the edges.
Electric Hand Mixer: I have had this one for nearly 20 years and it’s never failed me!
TRY THESE HOLIDAY FAVORITES…
I hope you love this Pumpkin Pie Without Evaporated Milk! If you make it be sure to leave a comment and a rating so I know how you liked it. Enjoy, xo!
Easy Pumpkin Pie Without Evaporated Milk
Ingredients
- 1 9 inch frozen pie crust, refrigerated pie crust or homemade my favorite frozen pie crusts, or make homemade pie crust recipe
- 3 eggs, slightly beaten
- 15 oz. can pure pumpkin puree See Note 1
- 1 cup heavy cream
- 1 1/4 cup dark brown sugar or light brown sugar white sugar is OK, too! (See Note 3)
- 1 tbsp vanilla extract
- 2 tsp cinnamon See Note 2
- 1/2 tsp ground ginger
- 1/4 tsp nutmeg
- 1/4 tsp cloves optional
- 2 tbsp corn starch
- 1 tsp sea salt or kosher salt
Instructions
- Preheat oven to 350°F. As oven preheats, take your frozen pie crust out of the freezer to allow a bit of thawing. After 5-10 minutes, prick the bottom and sides of the pie crust thoroughly with a fork. This will allow steam to escape and will prevent your crust from puffing up.
- Place pie shell on a baking sheet and bake for 12 to 15 minutes (this is called "blind baking" the crust and prevents the crust from getting too soggy when the pumpkin pie is being baked).
- While crust is blind baking, in a large mixing bowl, mix together pumpkin puree, eggs, heavy cream, sugar, vanilla, corn starch, salt and spices until smooth. I like to use an electric hand mixer to get the filling super smooth, but you can also just use a wire whisk.
- Remove partially baked pie crust from the oven and heat oven temperature to 425°F. Pour pumpkin filling into pie shell.
- Bake pie for 15 minutes at 425°F. Then, reduce oven temperature to 350°F and bake for another 30-40 minutes. When pie is done, it will be firm along the edges and SLIGHTLY "jiggly" in the middle. Resist the urge to over bake! The pie will continue to bake in the next step and even after it comes out of the oven! If the edges of the crust are getting too dark, cover with a pie crust shield or aluminum foil. Also note that exact baking time will depend on your oven. Start checking the pie at about the 45 minute mark.
- Turn oven OFF and open the oven door slightly to allow heat to escape. Leave the pie in the warm oven for about 10-15 minutes. This will allow the pie to cool gradually and prevent cracking.
- Remove pie from the oven and allow to continue to cool for at least another 2-3 hours on the counter, or overnight in the fridge. Serve with whipped cream or vanilla ice cream!



Amazing substitute as I did not have evaporated milk on hand. I will now use this recipe instead of the Libby’s one I had used for decades. No splitting on top or water on filling. My guests raved about the flavor!
Absolutely amazing with heavy whipping cream! I have been making Libby’s recipe for decades and will now use this one. The texture of the pie was stellar! No splitting on top or watery top.
Such great flavor! Like you say, using the individual spices made such a difference! I came to this recipe because I didn’t have evaporated milk. Boy howdy! So glad I found it! A new favorite! Thank you!
Not done cooking, I sat down with a hot milk pumpkin latte. Milk and left over pumpkin pie mix. Pretty darn good. Thanks
If I’m making my own pie crust, do I need to blind bake the crust first or just go onto the next step?
No lives will be list if you don’t–LOL! But for best results, I would still blind bake your homemade crust 🙂
Great filling recipe. I used a freshly made butter pie crust, and when I pre baked it, it came out of the oven puffed up and shrunken.
I tossed that crust and used a fresh one and didn’t pre bake and it was fine. I think if my crust was maybe frozen it would have worked!
Yes, always use a frozen crust 🙂 But I bet your crust tasted amazing! xo
This happened to me as well, although I stuck with my attempt due to time constraints. And same, homemade butter crust. I think what happens is, if you pour the filling into the crust before the oven has fully transitioned to 425, it sort of starts baking right in the crust before it even hits the oven. I suspect if I had waited for the full reheat, then poured and straight in, it may have avoided this problem or at least lessened it.
My lactose intolerant husband thanks you as he can have heavy cream but not evaporated milk! Wonderful!
Hi, I’m confused – the recipe states one cup heavy cream, but on the other page you said that you would substitute one and a half cups of heavy cream for the 12 oz can of evaporated milk, so I’m confused as to why your recipe does not use one and a half cups and rather uses one cup. Can you please help clear this up? Thanks!
Hi Nicole! Great question–I actually tested it both ways and both are fine! One just yields a bit more filling. However, you’re right, it’s confusing so I changed the “Substitutes” post to match the recipe 🙂 XO ~ Casey
I think the spices are good in this recipe but there is too little sugar. I like to make pumpkin pie filling to serve as a pudding. I made this recipe this evening and after it cooled I served myself a bowl and I was really disappointed with how bland it tasted. I would at least double the sugar to 1/2 cup or more.
Hi Anna! Thanks for the feedback! I think sweetness is a personal preference so adding more sugar is definitely an option…also, using brown sugar really deepens the flavor so that’s a must for me! I am going to make note of this in the recipe–I appreciate your feedback! XO ~ Casey
There was a mistake in the original writing of this recipe–it stated 1/4 cup of sugar which was a typo…the original tested recipe had 1 1/4 cups. I have corrected the recipe to reflect the correct amount! Thank you to wonderful readers for pointing this out!
I think that 1/4c sugar is not enough, very bland
I’m sorry you found it was “bland”–I specifically wrote the recipe to have lots of nice, “spice” flavor–I don’t like bland pumpkin pie! Did you make the recipe exactly as written? You can also add a more sugar, the sweetness is just personal preference! 🙂
I have quite a bit of leftover filling even though I used a deep dish pie crust. Any suggestions as what to do with the leftovers?
You can just bake it, crustless, in a small ramekin! The filling-only is delish just with whipped cream!
I am so ready for all the pumpkin recipes and this pie looks amazing.
This was amazing and such a treat! Thank you! Everyone in my family loved it.
This pumpkin pie looks incredible! I will be making this over and over this Holiday season.
I’ve made this pie twice now, so good! One was a trial run and the other was for Canadian Thanksgiving. Going to go for a third time for American Thanksgiving!
Hi Dana! Did you make it as written with only 1/4c sugar? I’ve googled a ton of pp recipes that have identical ingredients as this one except they all use about a whole cup brown sugar. And there are multiple comments here saying it needs much more! Thank you so much🥰
Hi Cat!
There was a mistake in the original writing of this recipe–it stated 1/4 cup of sugar which was a typo…the original tested recipe had 1 1/4 cups. I have corrected the recipe to reflect the correct amount! Thank you to wonderful readers for pointing this out!
Using cream instead of evaporated milk is so smart. I feel like the pumpkin flavor is much more prominent than in the traditional recipe.
Hi,
I’m wondering if the pie crust is supposed to be baked in a pie dish?
Hi there, If you are using a premade pie shell like I did, you do not need a separate pie dish unless you want to use one for looks 🙂 It’s not necessary though especially if you put the pie shell on a baking sheet in the oven. Hope that helps! XO ~ Casey
Thanks! I’m going to be bringing the pie to someone’s house so I’m thinking it might be easiest for me to bake it in a pie dish to make transport easier! Does anything change with the steps of the recipe/bake time etc. if I’m using a pie dish?
Nope! Just bake as usual! Let us know how it turns out! This is the ONLY way I make pumpkin pie! XO ~ Casey
I actually love recipes with evaporated milk, and this was a fantastic one!
This is such a great pumpkin pie recipe! Didn’t miss the milk at all. So easy to make and the same rich and creamy flavor!
Oh wow! This is incredibly delicious!! I would love to make it again and again!
I made this pumpkin pie over the weekend (I couldn’t wait for pumpkin everything!) and it turned out perfectly!
Pumpkin pie is a must at Thanksgiving. I am always in charge of baking it. This sounds delicious and I know it will be a hit with the guests.
This is such a great recipe. Nothing beats a nice homemade pumpkin pie! I don’t even need the ice cream or whipped cream with it—it’s too good on its own, haha.
This was so easy to make and delicious! Love that it’s made without evaporated milk!
You cannot have Thanksgiving without this classic pie!
I love that you use cream instead of evaporated milk!
This pie looks so creamy and delicious and I love that there are so many crust options too to make life easier.