
How to Cook Chicken Breasts in a Pan
Ever struggle with how to cook chicken breasts in a pan? This post will help you cook chicken breasts so they come out perfectly juicy every time!
If you have struggled with cooking perfect, juicy chicken breasts on the stove, you are definitely not alone! So many recipes will just say, “cook chicken breasts on each side for X minutes.” Wellllll…..that’s really hard when one side of the chicken breast is so much thicker than the other side! How does it cook evenly?!
I struggled with this for years until I finally found my perfect, foolproof method to cook chicken breasts perfectly every time!
Forget to thaw your chicken breasts??! NO WORRIES! Your air fryer to the rescue! Learn how to cook Frozen Chicken Breasts in the Air Fryer!
How do you cook chicken breasts without drying them out?
Two ways. First, you tenderize the meat and pound it out so the chicken is EVEN. There isn’t a side thicker than the other, so it cooks evenly. Second, you let the chicken “rest,” covered loosely with foil for a few minutes after cooking. This helps the juices redistribute and keeps the chicken super juicy.
How long does it take to cook chicken breasts in a pan?
About 8 minutes total – 6 minutes on the first side and 2-3 minutes on the second side.
What are some easy chicken breast recipes?
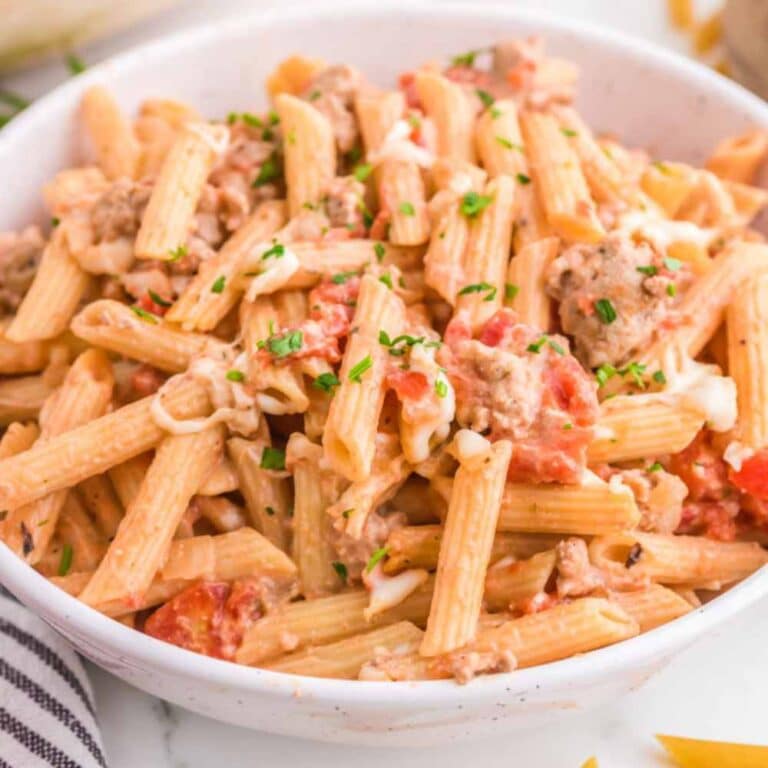
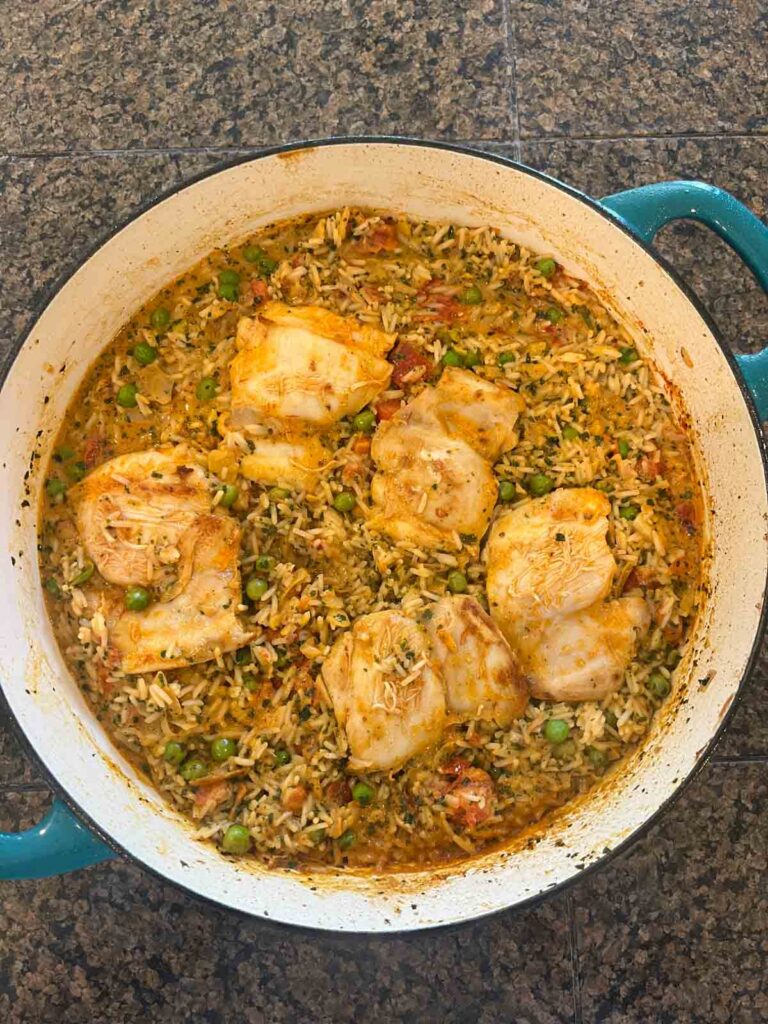
I use cooked chicken breast for SO many things! It’s just so handy to have on hand for wraps, salads, even soups! Here are a few ideas:
How do you know when the chicken is done?
With my simple method, it’s REALLY easy! Since the chicken will be thin, they cook up quickly. You can simply press on the chicken–if it feels firm, it’s done. Any spongy-ness and leave it on for a little longer. You can also just pierce it with a fork. If the juices run clear (no blood!!), you’re golden! Depending on how thin you pound them out, you should be REALLY close around that 8-minute (total) mark–6 minutes on one side and 2-3 on the other.
What do I need to cook the perfect chicken breasts?
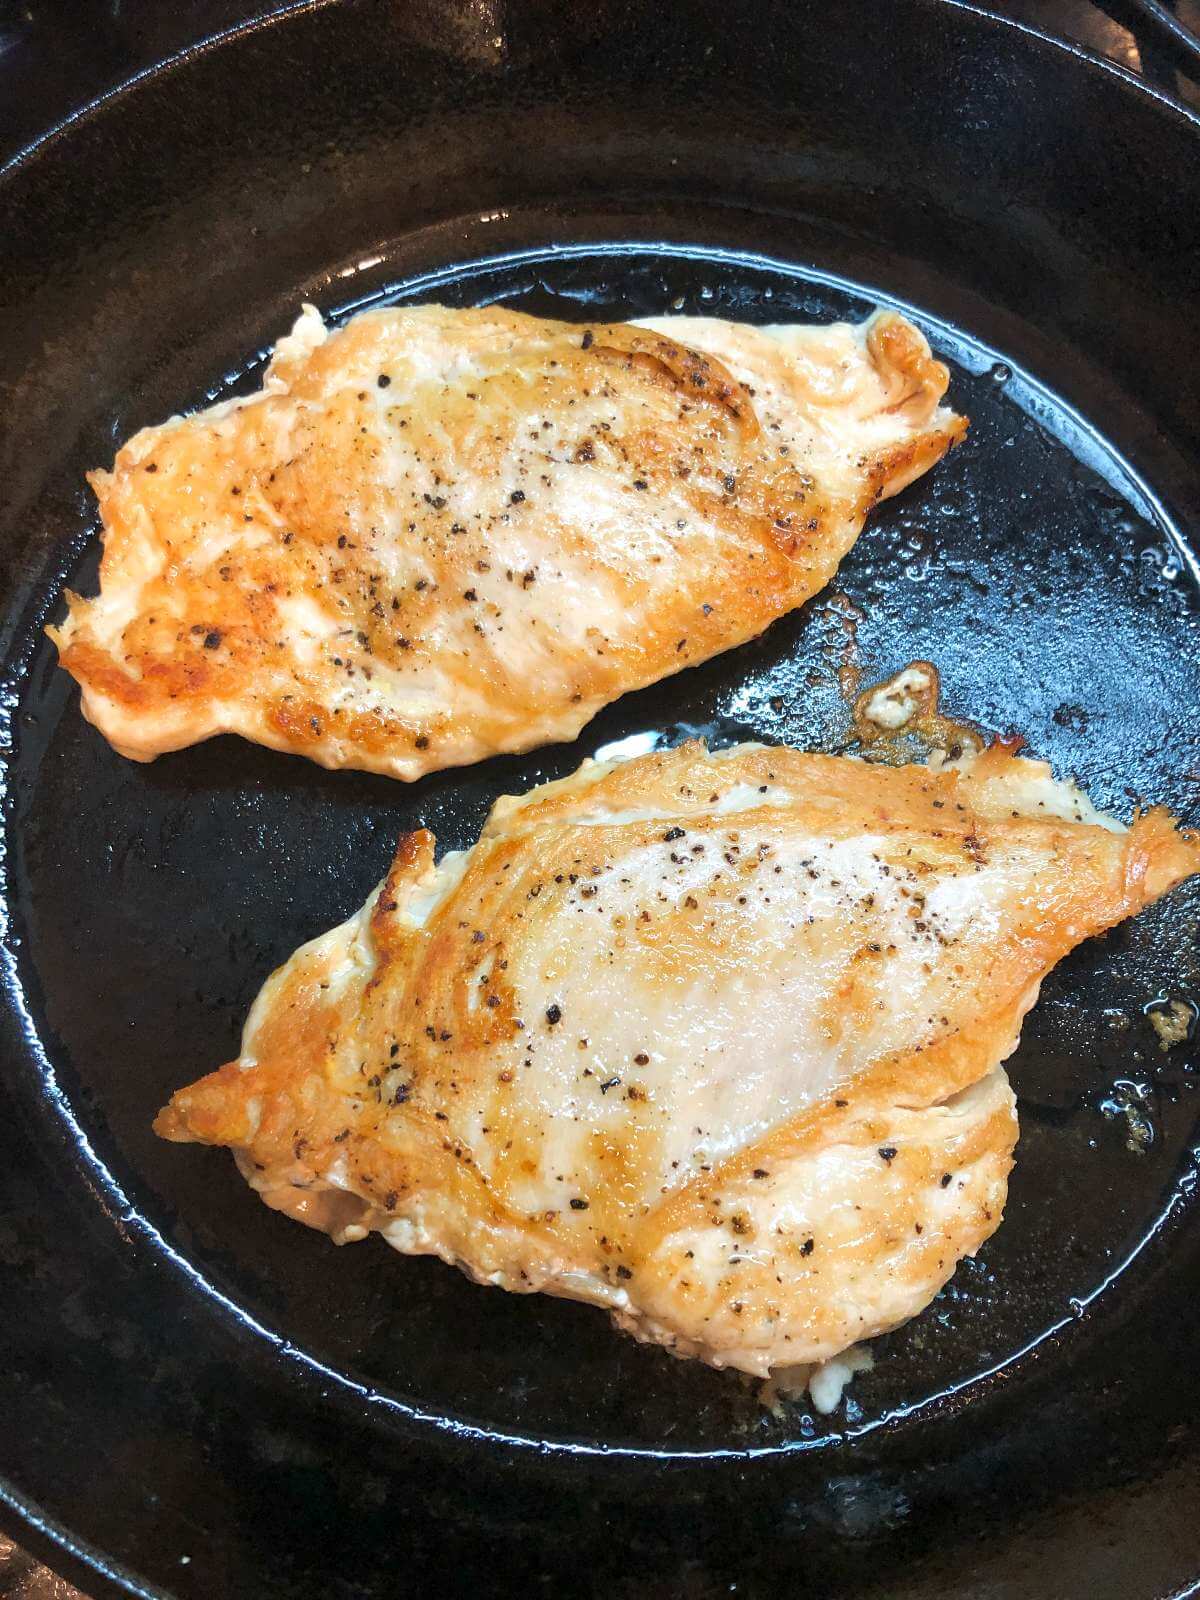
- Any large pan. My favorite cast iron one is right here and works perfectly for cooking chicken!
- Salt/Pepper
- A little olive oil
- Chicken breasts, of course!
STEP-BY-STEP METHOD TO COOK PERFECT CHICKEN BREASTS
Step 1: Remove tenderloin
The tenderloin is the little tender piece of meat attached to the underside of the chicken breast. They cook much more quickly than the breast, so I cut them off and just throw them into the pan separately so they stay tender and juicy.
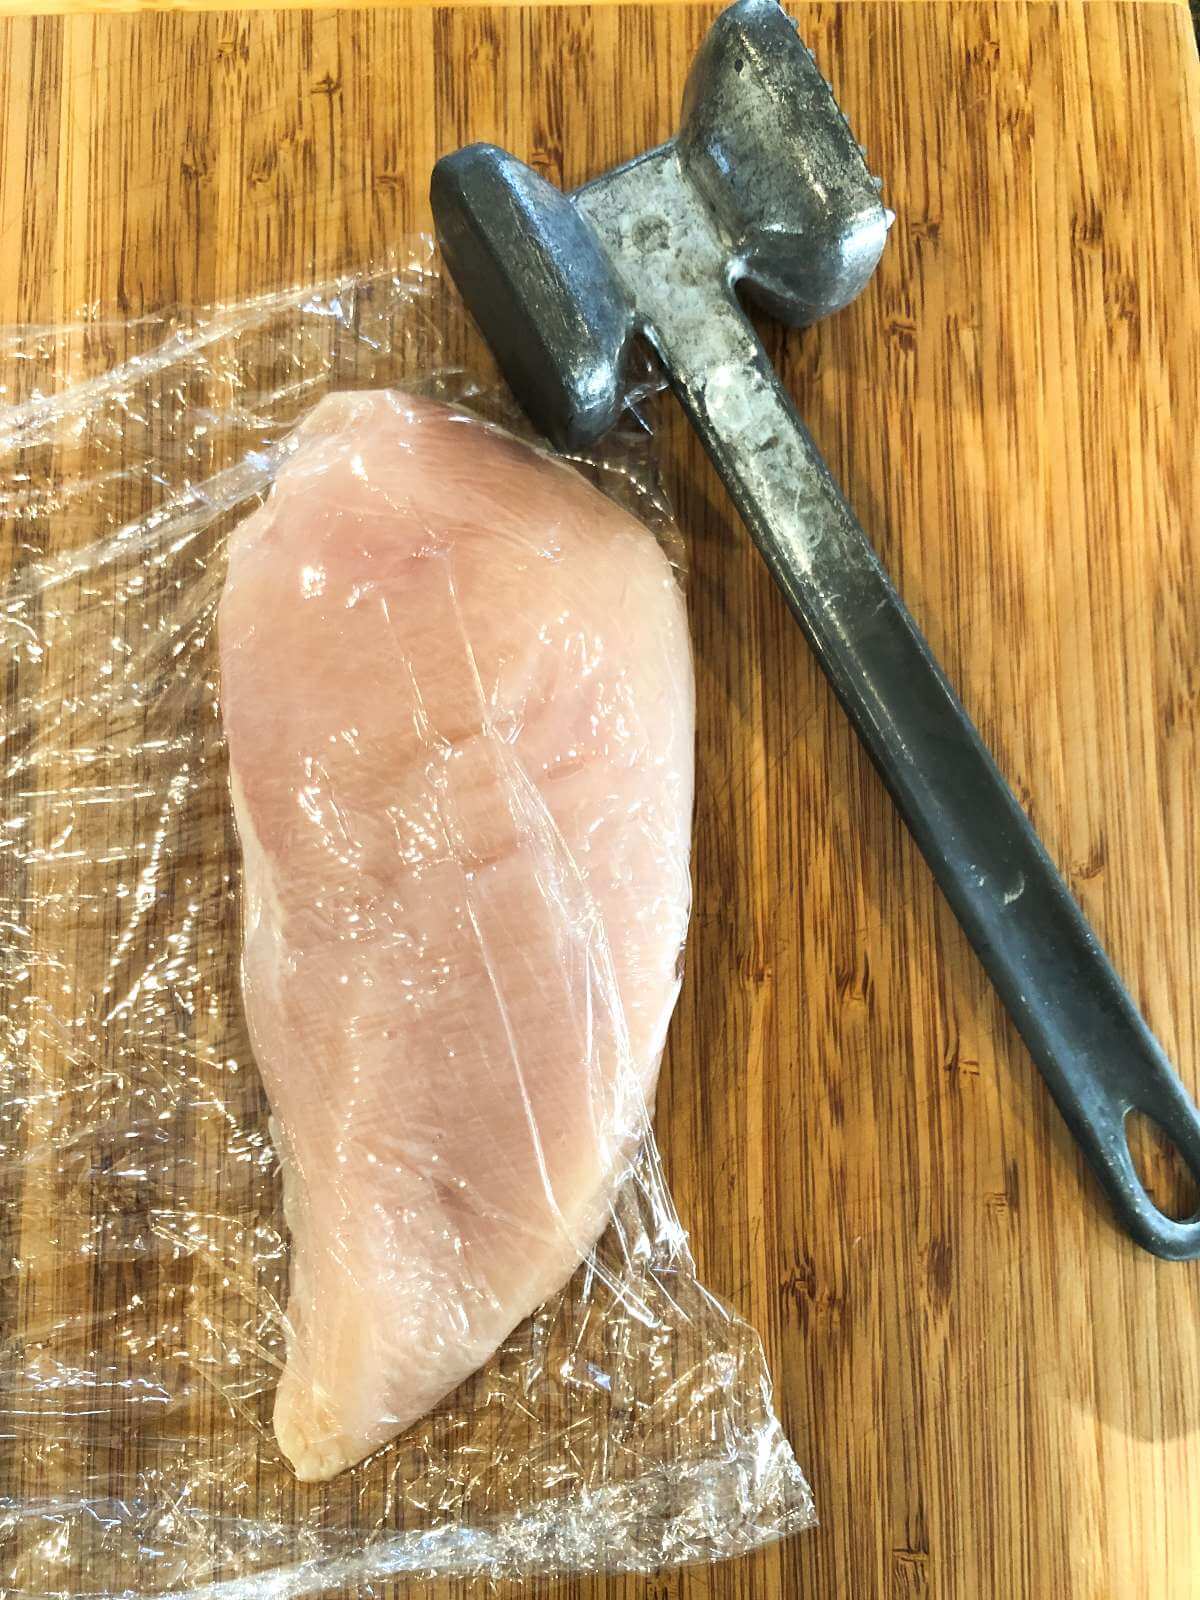
Step 2: Pound it out!
The **secret** to cooking perfect chicken breasts every time is quickly pounding out the thick end of the breast so everything cooks evenly. This extra step actually SAVES time because the breast becomes thinner and cooks super fast! The thickness will depend on the chicken breast but you’re going for about a quarter of an inch thick ((my mallet has seen better days, huh?)). Just put the breast (with the tenderloin removed) between two pieces of plastic wrap. Then give a few good whacks and you should be good to go!
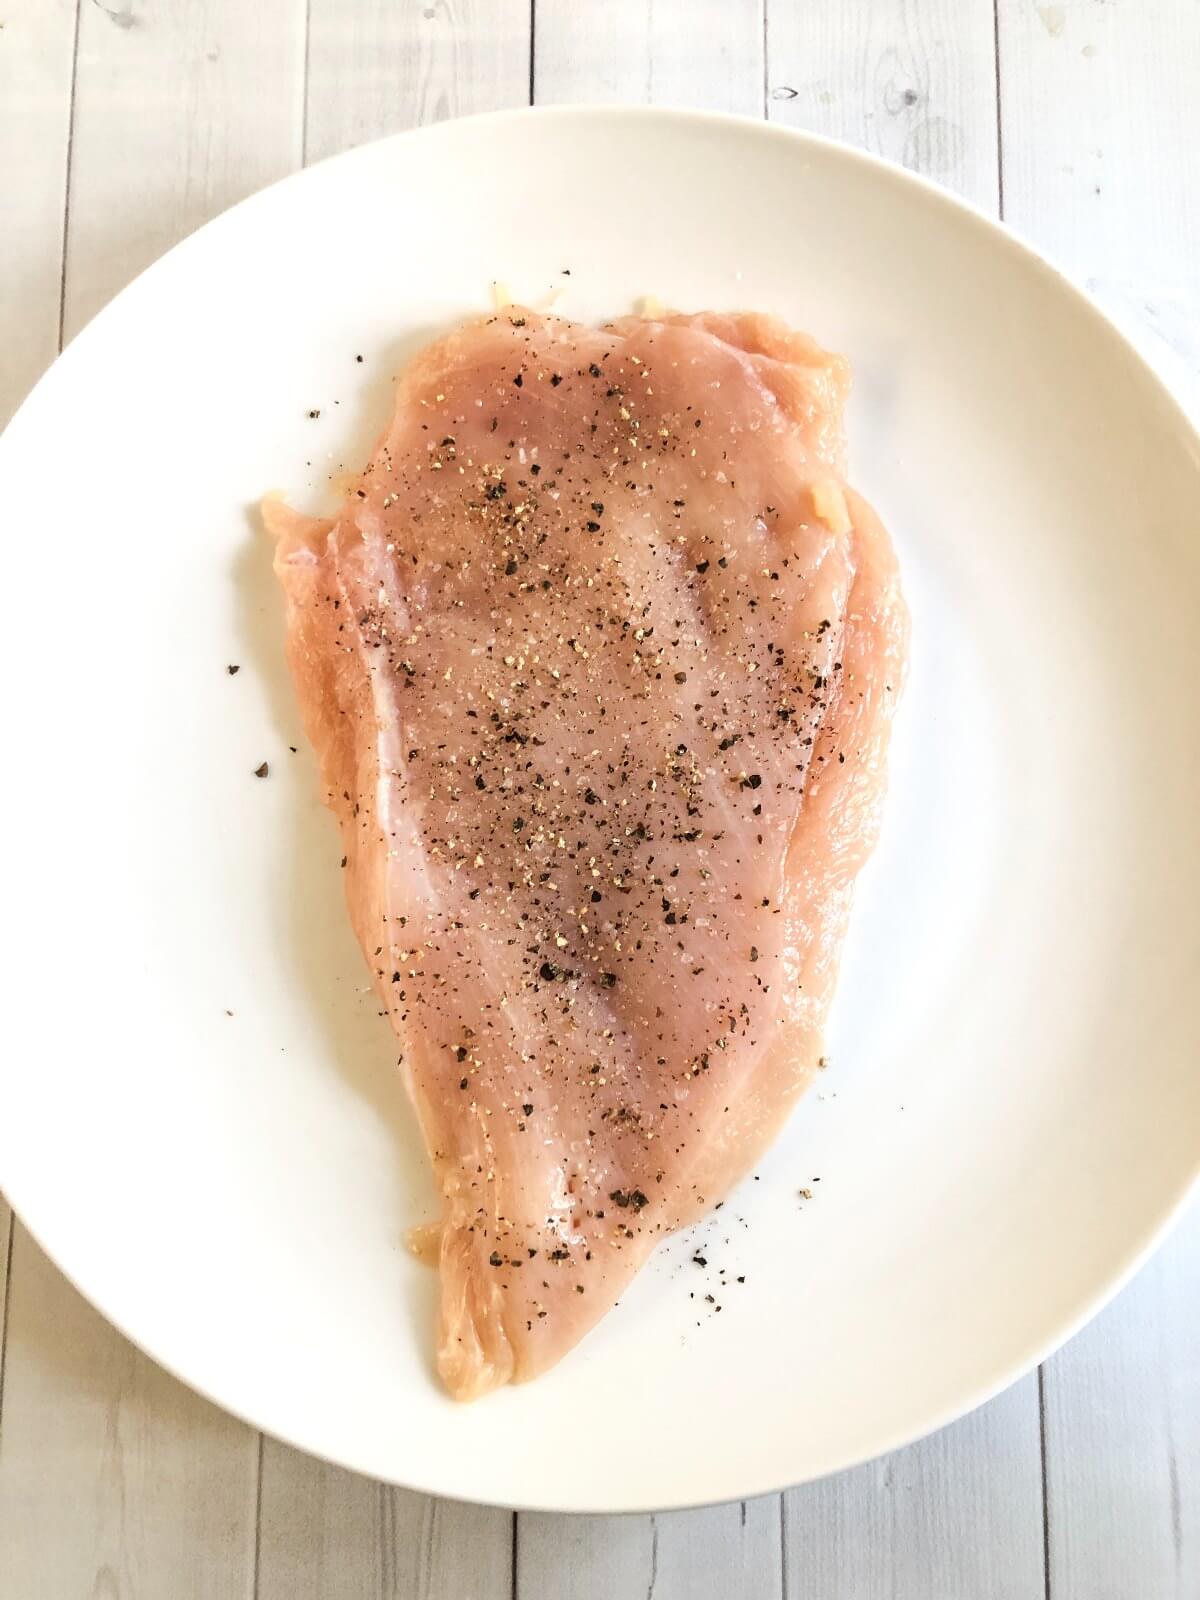
Step 3: Season
Next, season up your chicken however you like! I like cooking up a batch of breasts that are just plain, aside from salt/pepper. That way, I can use them in salads or dress them up however I like during the week. This Southwest Salad is perfect with just plain old salt and pepper chicken breasts!
Step 4: Cook!
Add a little oil to the skillet and cook the chicken breasts for about 6 on the first side – make sure it’s nice and golden and slightly caramelized. Resist the urge to flip before about the 6-minute mark! Then flip and cook for another 2-3 minutes until cooked through. You can throw the tenderloins in there too! The tenderloins will take just take about 2 minutes on each side.
Step 5: Rest
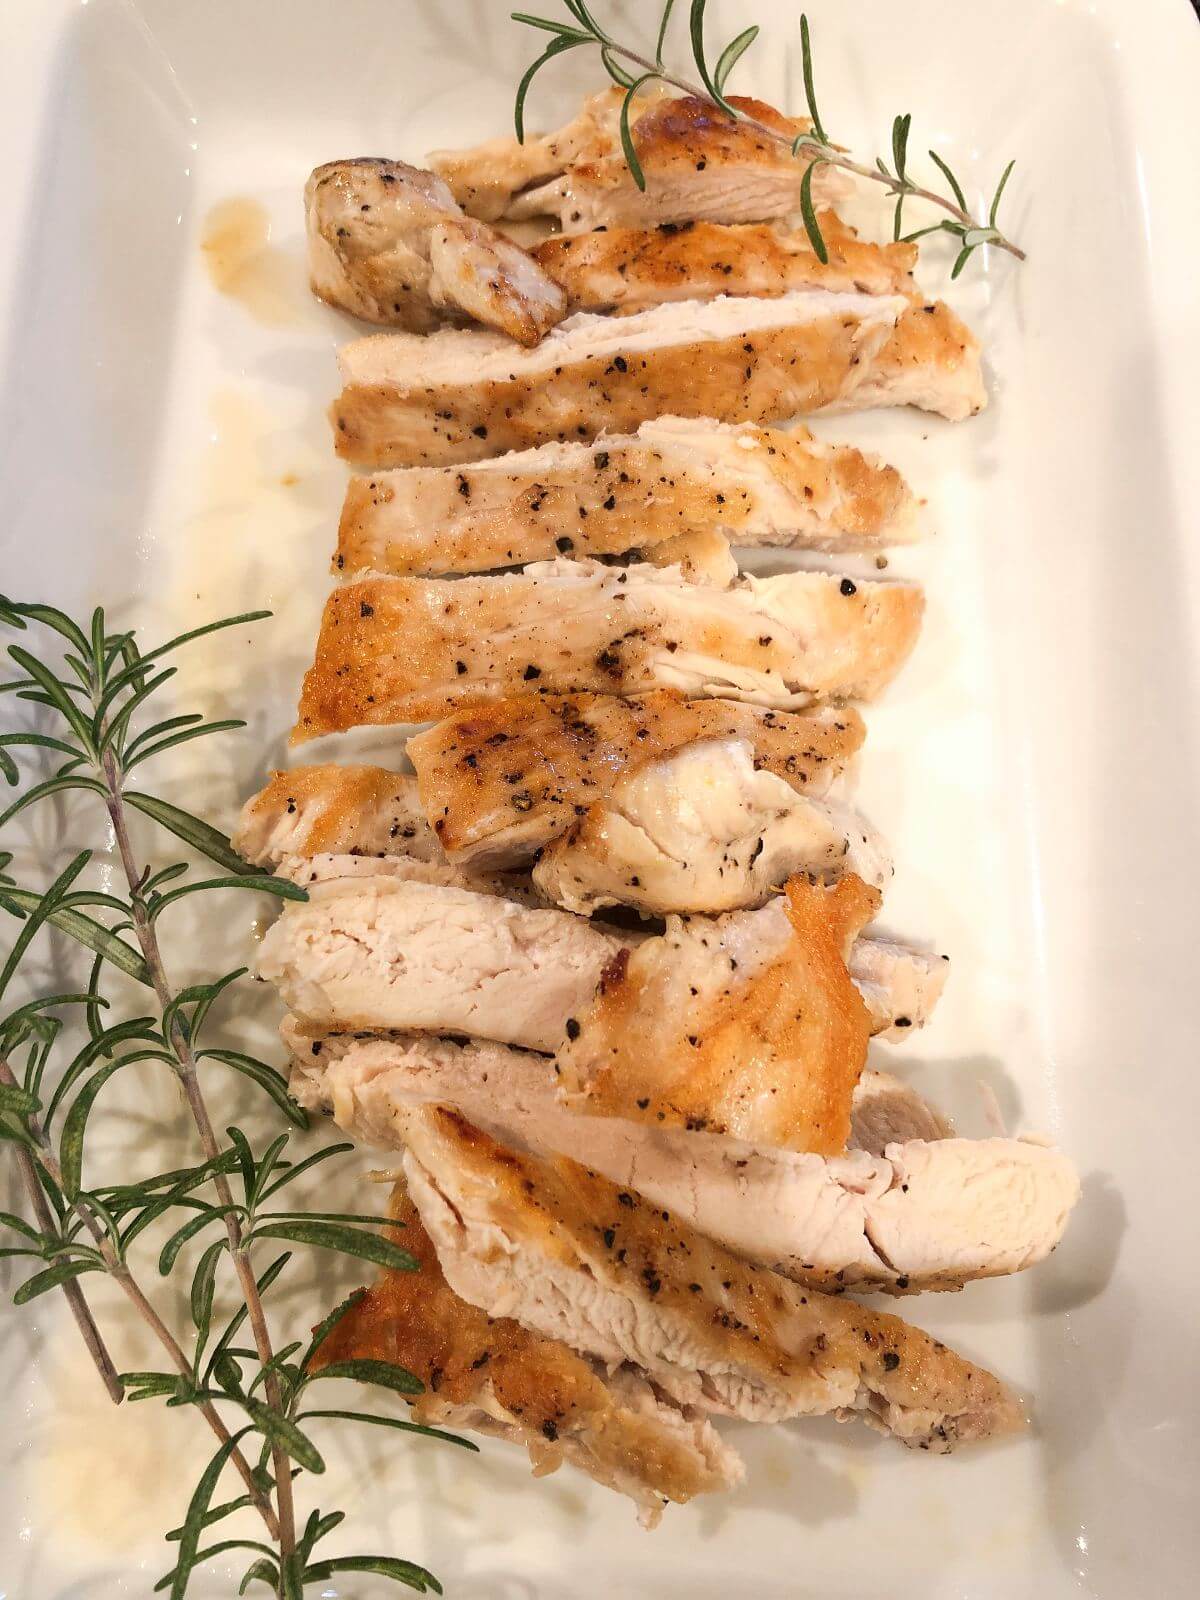
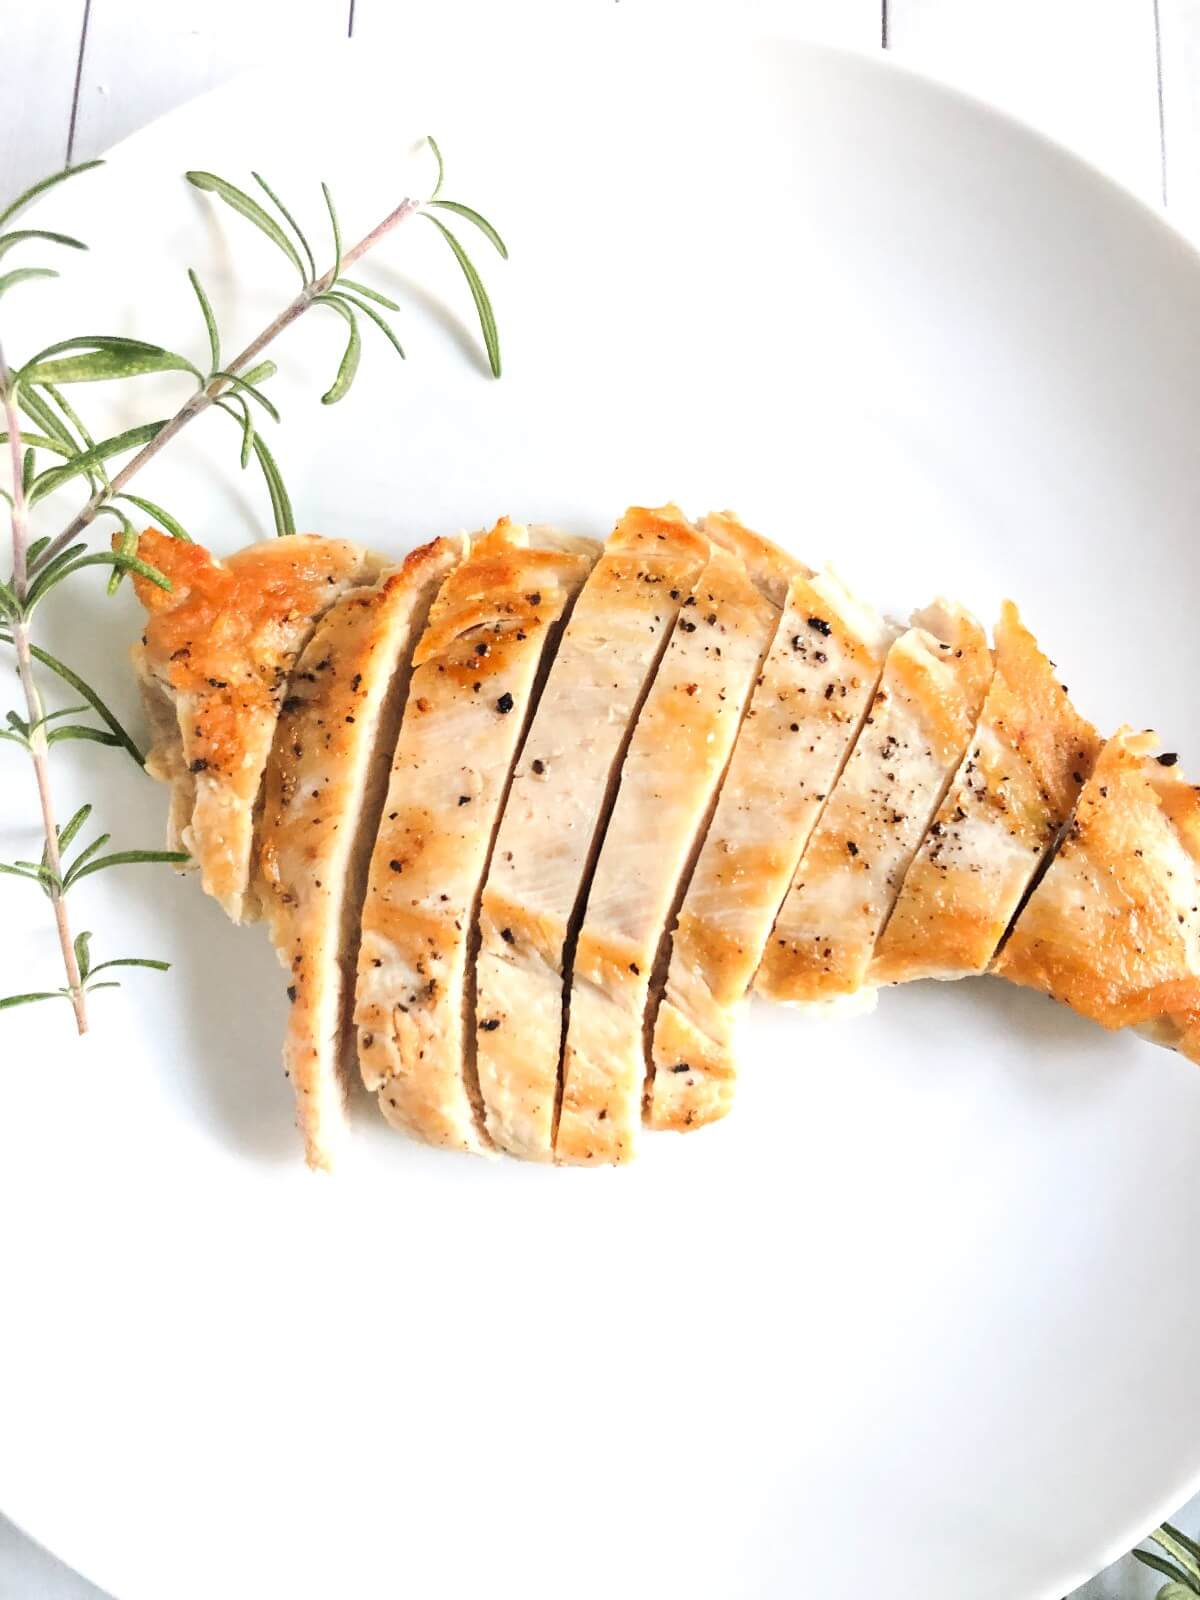
Transfer your chicken breasts to a plate and loosely cover with foil for about 5 minutes. This simple step will allow and juices to redistribute in the meat. It will also render a little juice on the plate that you can pour over the chicken!
After that, you can eat them right away or chop them up and have them for the rest of the week! They’ll last up to 5 days in the fridge.
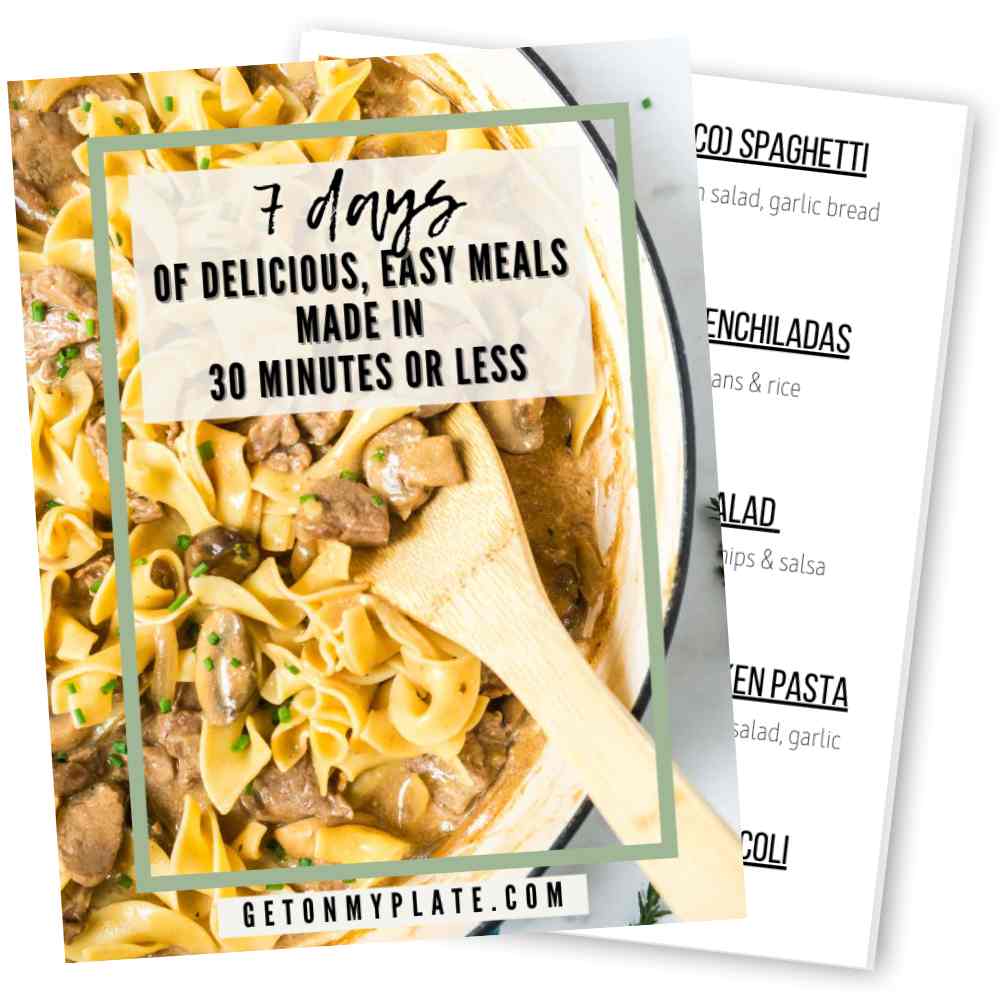
In a Dinner Rut?
Grab your 7-Day Meal Plan + 3 Bonus Recipes!
I hope you love this Perfect Chicken Breast in a Pan! If you make it be sure to leave a comment and a rating so I know how you liked it. Enjoy, xo!
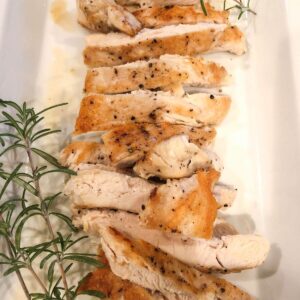
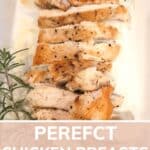
Perfect Chicken Breasts in a Pan
Ingredients
- 2 chicken breasts
- 1 tbsp olive oil
- salt/pepper/other seasoning
Instructions
- Remove tenderloin from each breast, set aside.
- Place one chicken breast between two sheets of plastic wrap. Use a meat tenderizer to pound out the chicken so that the thicker end resembles about the same thickness as the thinner end (approx. 1/4 inch thick).
- Season chicken with whatever seasonings you like, or just use salt and pepper if you are cooking them to use for other recipes.
- Cook on first side for 6 minutes until golden brown in color. Flip and cook on the second side for 2-3 minutes until juices run clear (see note).
- Place cooked chicken on a plate and cover loosely with foil for about 5 minutes rest.
- Serve immediately or chicken can be stored in the fridge for up to a week!
Notes
- To check if the chicken breasts are done, you can pierce them lightly with a fork. If the juices run clear, you are good to go! You can also just press on the center. If the chicken feels firm, it’s done!
- When you add the chicken breasts to the pan, you can also throw in the tenderloins, too! They cook up super fast–just a couple of minutes on each side.


Worked great